When an add dies, it now causes all other adds of the SAME type to use their 100 energy ability immediately
When an add dies, it leaves behind 4 puddles of Void-Infused Ichor
Adds spawn more frequently throughout the encounter
Killing an add now generates 30 boss energy over 6 seconds
The Umbral Aversion effect, which prevents you from picking up another Ichor, now lasts 1:15 from the moment you get an Ichor debuff
Drest’agath herself doesn’t gain anything new on Mythic. Instead, the way her adds interact throughout the encounter is altered. Whenever any add dies, all other adds of the same type immediately cast their 100 Energy ability. As an example, if a Tentacle of Drest’agath dies, all remaining Tentacles of Drest’agath will cast their 100 Energy ability Reality Tear.
In addition to this, adds in general will spawn more frequently. This’ll alter how guilds need to handle the timing of killing adds, as just killing adds one by one and hoping for the best may prove very inefficient.
Strategy
Drest’agath’s Mythic-Only mechanic doesn’t really change the way the fight plays out, it just requires your raid to dodge more things on the ground.
The more impactful change is just how much more HP Drest’agath and her adds have.
This fight has a hell of a lot of things going on, and seems very complicated. In reality though, it’s fairly straightforward. Don’t overcomplicate it.
We recommend a comp of 2 tanks, 3 healers, and 15 DPS
The boss enrages at 10:00. The extra DPS player will help make sure you beat it
Throes of Dismemberment
Eyes
When you kill an Eye, the remaining Eyes will cast Errant Blast
This puts red swirlie puddles all over the floor, just move out of them
Tentacles
These cast Reality Tear
Purple puddle with a spike shooting up from it
These move in straight lines away from the Tentacle that cast it
Simply move out of the way of the puddles to dodge them
Maws
These cast Spine Eruption
Series of circles that appear around itself
After a few seconds, spikes shoot up from the circle, dealing heavy damage
Again, just don’t stand on the actual circle animation
What we found is that trying to manage and prevent Throes of Dismemberment by killing all same-named adds together is not an effective strategy
Instead, we found it much more effective to prioritize killing adds that were close to each other
This lets the raid stay closer, making it easier to heal as well
Entropic Crash is cast at 0:15, then every 45 seconds
This is delayed by Throes of Agony if the boss hits 100 energy
Throes of Agony is always the boss’s #1 priority cast. Whenever she hits 100 energy, that’ll always be cast as her NEXT ability
As far as actually killing the adds, you’ll want to focus on timing of them dying, to both maximize Ichor uptime and manage the Throes of Agony
Keep in mind that Dismemberment, the mechanic giving the boss energy, lasts 6 seconds, stacks, and REFRESHES.
If you kill two adds 5 seconds apart, the Dismemberment will refresh AND gain a stack, so you’ll end up giving the boss 6 seconds of 10 energy per tick, instead of the normal 5 per tick
Space out the actual killing of adds 7-8 seconds apart
Your most useful tool to effectively kill the adds is Volatile Seed
Your tanks should always prioritize dropping this on the higher HP add the raid is currently trying to kill
Getting the debuff on 2 or more adds near each other is even better, but not always something that’s possible
Since the adds take 60% more damage during the debuff, it’ll help you burn them much more efficiently
Killing Adds and Using Ichors
At 0:45-1:05 into the fight
Kill the two Eyes that you begin the fight with, and 3 more adds by this time. Have BOTH DPS groups grab Void-Infused Ichor, use Bloodlust, and blast the boss as hard as possible. Every DPS should have Ichor here, and leftovers can be taken by tanks or healers
From this point on, you’ll want to kill 2-3 adds every 30-40 seconds
DPS should be focusing on the adds that have the Volatile Seed debuff
Any DPS players with a 2 minute CD should wait to grab an Ichor until their CD is available
Players with CDs less than 2 minutes, or 3+ minutes, should just pick up an Ichor every time they are able to
BM hunters fit this really well, and should be included here, as BW can be up every time you’re able to grab an Ichor
Work your way around the room in a Clockwise fashion, killing adds as you get there
Again, your tanks dropping Volatile Seed on the adds you’re killing is vitally important
The goal is to kill 2-3 adds every 30-40 seconds, so you don’t fall behind
As mentioned above, don’t kill the adds too close together time wise, or else the boss will get way more energy than she should
Kill them 7-8 seconds apart
Your raid leader should keep an eye on the Entropic Crash CD
Ideally, you want to push a Throes of Agony right AFTER the Crash happens, and use a healer raid CD
You can actually get the boss to 100 energy during the Entropic Crash cast
Important Healer Info
At 6:33, you’ll have two fresh Tentacle adds, as well as the boss casting Entropic Crash. Since the Tentacles copy this ability, there’s a massive amount of damage to the raid here. Make absolutely sure you have 1-2 raid CDs for this
It’s likely you’ll also have Entropic Crash from the boss + 2 Tentacles at 1:01 and 7:18
These are generally nowhere near as dangerous. The 1:01 cast, the Tentacle adds are much further away from the boss, so the damage they deal is reduced by falloff
The 7:18 is the same 2 Tentacle adds as at 6:33, so it’s possible you’ll have killed one by this point. If not, use a raid CD
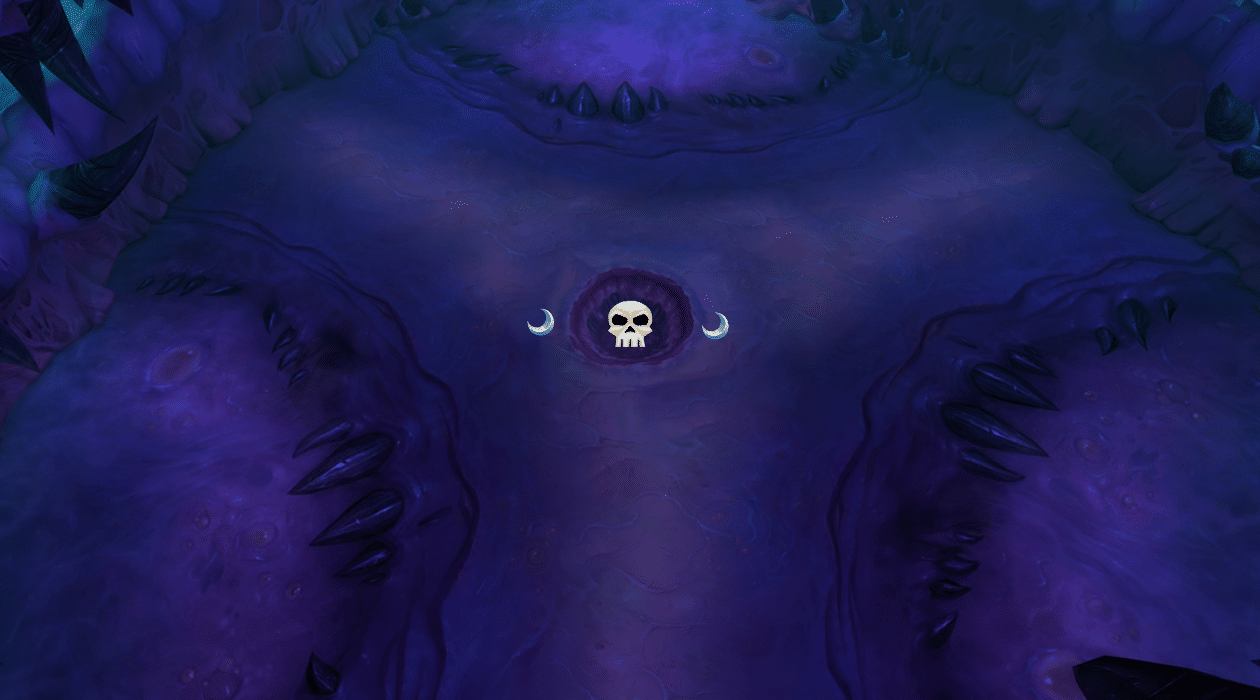
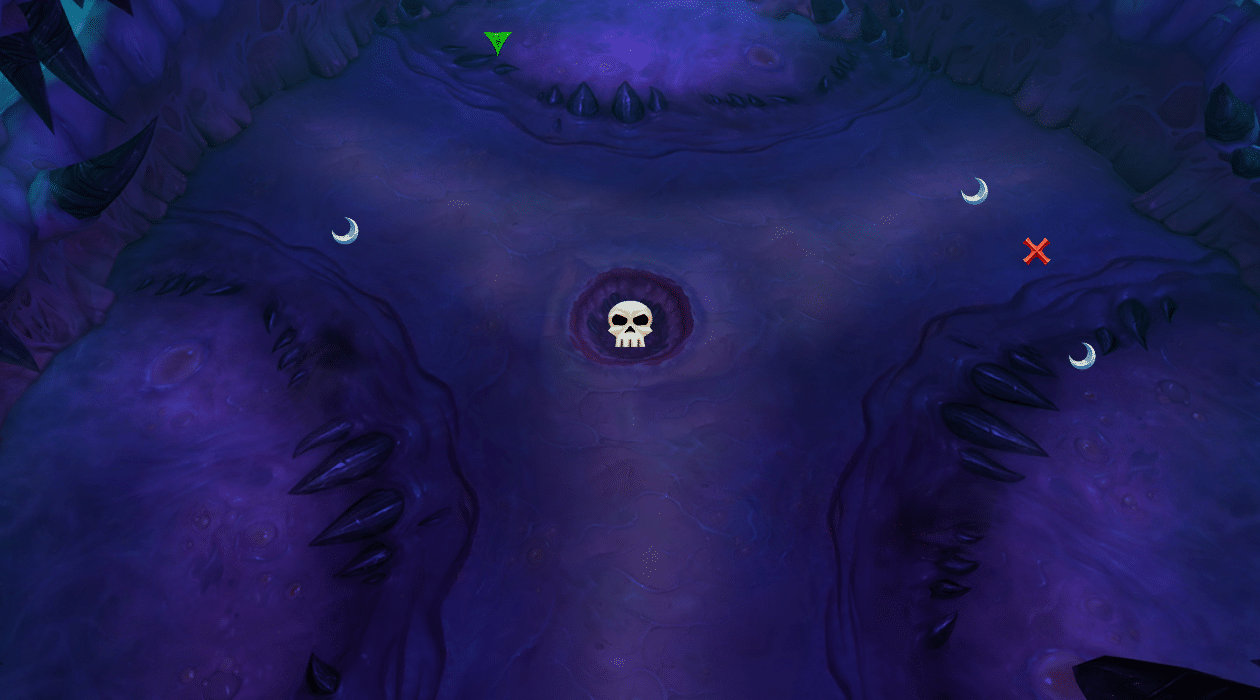
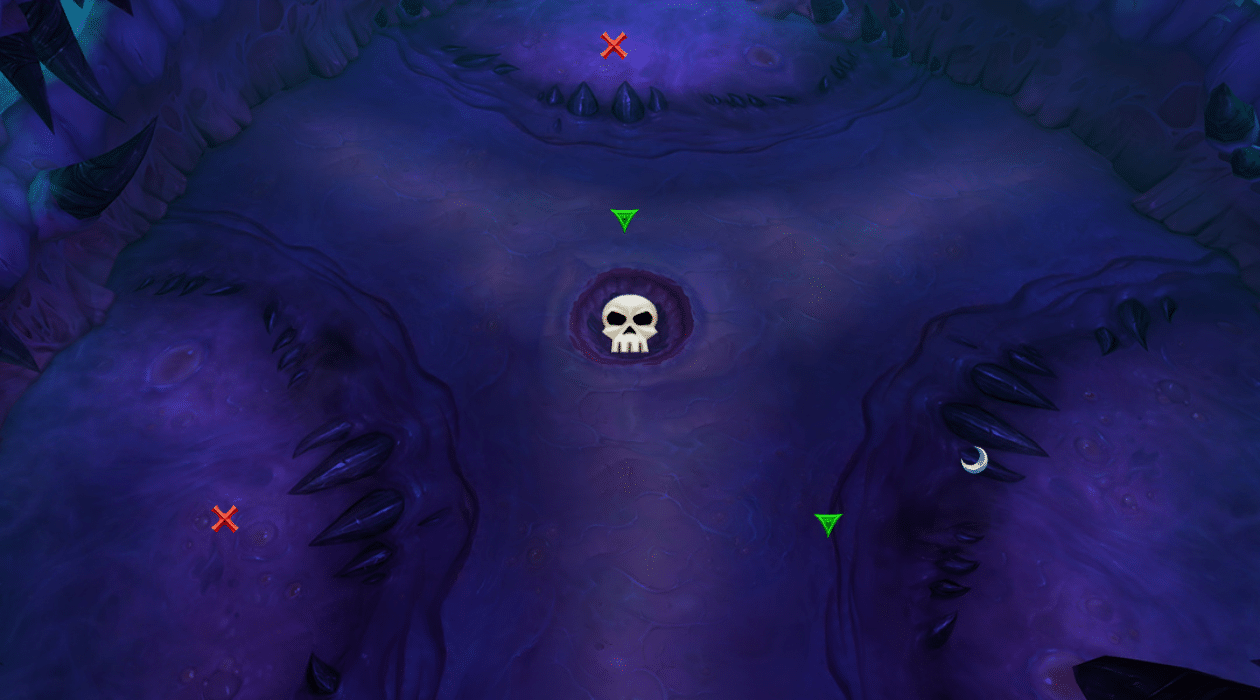
Add Spawns
These are give or take a few seconds. The adds don’t all just pop up at exactly the same time, it’s over the course of 2-3 seconds
On the maps, X = Tentacles, Moon = Eyes, Green = Maws
These are locations as viewed from where the entrance to the room is